How To Remove Load Bearing Stud Walls
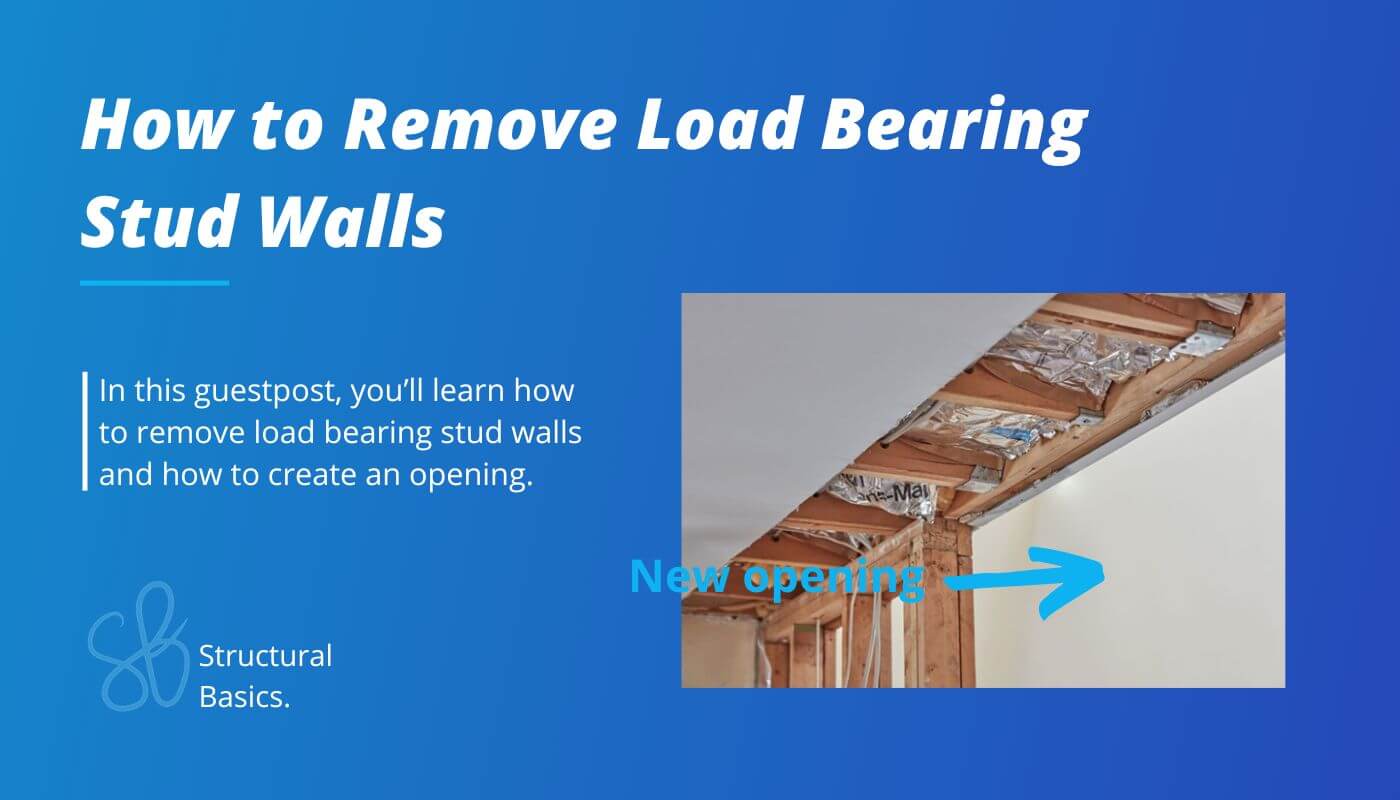
Getting rid of load bearing walls in the basement gives plenty of opportunity. We’ve all been there, you may want to widen some doors or perhaps expand a room, maybe just create more space for walking or a billiard table.
Generally speaking, the older your home is, the more walls and small doors you have. Nothing to worry about, though, here’s how you can remove load bearing walls and turn a crowded basement into an open-space one.
Note from Laurin (founder of Structural Basics): This article was written by xxx. The following workflow mainly just works for countries like the US where houses are built with stud walls and floors. In countries in Europe most basement walls are built in concrete or masonry which means that wall openings are done differently.
Now, let’s get into it.
Check With Your Local Authorities
Before doing anything else, check with the local authorities and see if you need any planning permission. Based on where you live, messing about with the structure of your home isn’t allowed without permission, especially since it can pose some risks like voiding home insurance policies or creating legal liabilities during property sales.
In other parts, you might be allowed to do a basement remodeling project, but not by yourself, so you may need to hire a professional for it. Either way, make sure you do your homework first or you’ll be slapped with hefty fines.
Now that we’ve got this covered, after securing permits and finalizing contractor agreements, it’s time to get those problematic walls removed. Here are the main steps to consider. Keep in mind that they may vary based on the current design of your basement, structure or goals. If you’re not 100% sure, just check with a professional.
Identifying The Studs Removing Them For The Opening
Get some braces on either side of the wall. They won’t be there forever, so don’t worry about what they look like. They’re there just until the project is over. Their role is to clear out the risk of structures collapsing on you. The last thing you want, really, so make sure you don’t skip this step.
Depending on the size of the project, you may need quite a few braces.
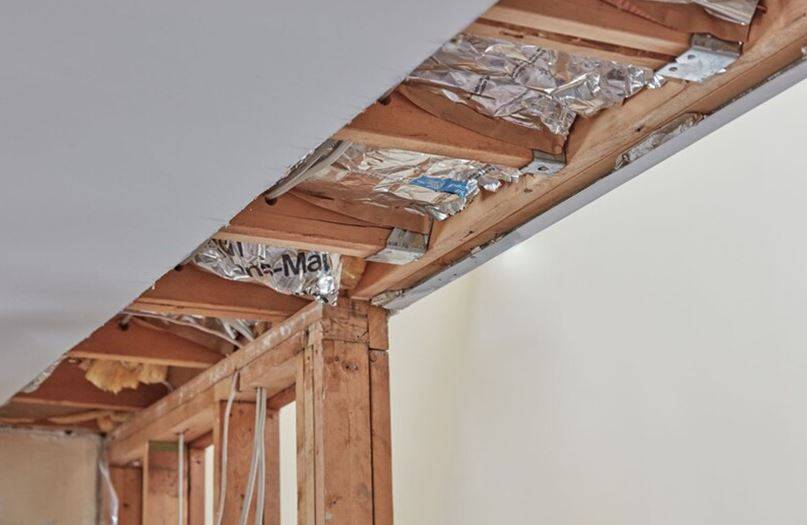
Once they’re in, pay attention to the wall and whether or not it’s covered with plaster. If it’s plastered, you may have to cut through it. You can get a reciprocating saw, but make sure it’s an electric one. The job is quite exhausting. The goal is to expose the studs behind the wall plaster.
As you identify the studs, you’ll need to cut above them. Once fully exposed, remove them from the opening.
Moving on with the Design
At this point, you’ll still work on securing the structure, but while also cutting into the wall. You’ll need to design a header. Get a couple of pieces of lumber, but also some filler strips. Get the filler strips between the pieces of lumber, similar to making a sandwich. Well, a heavy-duty one.
Further on, you’ll have to get a nail filler block and stick it to the jack stud. Once fitted correctly, the jack stud must be screwed into the king stud.
Grab the plaster and header opening and install these parts. You’ll need some heavy-duty adhesive for the job. Use plenty of it behind the plaster, but also over the header opening. You need to ensure these pieces are well fitted.
Get the header fitted into the opening you’ve made, then get some new studs in. These extra studs can be fitted with a heavy-duty hammer.
The last few steps imply the last touches.
The nail jack studs must be well secured into the king studs. That’s part of designing the new opening. Once they’re well in and fitted, you can get rid of the braces you installed at the beginning of the project.
Things to Remember
There are a few things you need to keep in mind when attempting to remove a load bearing wall in your basement yourself.
You Need Support
Build some sort of support on each side of the wall before starting the project. Even if it looks like one side’s enough, the truth is your structure may suffer if the support isn’t even.
Exposing Beams
Sometimes, the beam you get might be lower than the overall height of your ceiling. Use laser levels to verify elevation compliance. It’s normal, after all, the structure of your floor rests on it.
To ensure they’re even, you may have to cut some of the floor joists and make sure their size ensures an even result.
Measuring Spans
It’s not all about the spans, but about everything that such a project could require. Measure two or three times and cut once.
When it comes to spans, there are all sorts of universal tables to help you with sizing elements. There are more things to consider, such as weight, roof load, shear, deflection limits, vibration control and so on. Doing everything yourself could be tricky, hence the necessity of some extra support from a licensed structural engineer for load path calculations.
Bottom line, removing a load bearing wall from your basement is a complicated project. Mishandling can cause cascading failures like cracked foundations. Even if you’re into DIY stuff, you also require a bit of experience and knowledge or you risk ruining the structure of the building. If there’s anything you’re not 100% sure of, seek help from an expert instead.
Final words
I hope you could learn something from this guest post.
If you don’t want to miss any new structural design tutorials, then subscribe to my free weekly Structural Basics newsletter.
Or subscribe to my YouTube channel for regular updates.
Let’s design better structures together,
Laurin.
![Compression Verification Of Reinforced Concrete [Eurocode]](https://www.structuralbasics.com/wp-content/uploads/2024/10/Compression-verification-of-reinforced-concrete-768x439.jpg)
![Pad Foundation In Clay [Design Of Soil And Concrete]](https://www.structuralbasics.com/wp-content/uploads/2023/05/Pad-foundation-design-clay-768x439.jpg)