Statics & Mechanics
Statics and Mechanics are the basics of structural engineering.
What are its principles, how is it used in the design, and what are real-world structural examples?

Let’s have a look…
Principles
Step #1
Do you know whether the static system is statically determined or indeterminate?
Step #4
If you don’t know what internal forces are, its sign convention or how to calculate them, read this step-by-step article.
Now it’s time to apply the knowledge to some examples …
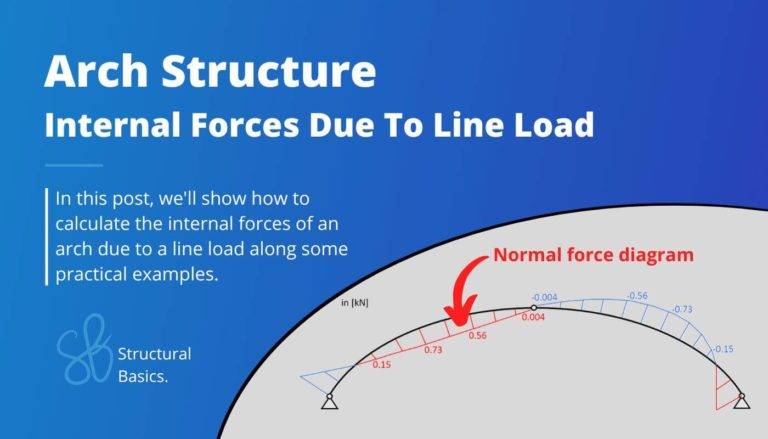
INTERNAL FORCE CALCULATION
Here Are Some Examples
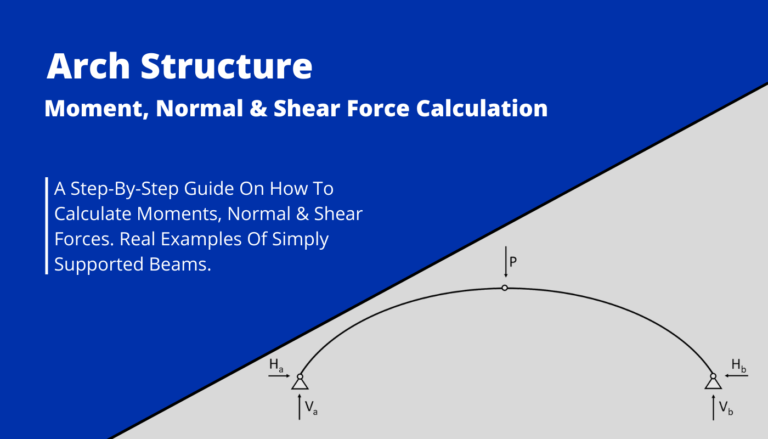
Simply supported beam, cantilever, and arch.
We definitely need to know how to calculate reaction &
internal forces, but at some point in our studies or career
formula cheat sheets are very helpful.
Check them out.
MOMENT & SHEAR FORCE FORMULAS
Here Are Some Cheat Sheets For Different Static Systems
Simply supported beam, cantilever, continuous beam, and frames.
-
13 Beam Deflection Formulas
The easiest and most important beam deflection formulas for your structural design.
-
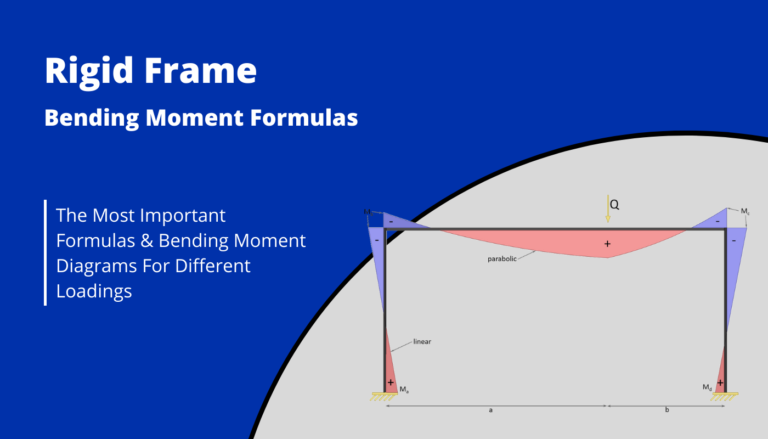
Rigid Frame Structure: Moment formulas – Different loads
Rigid frame: Quick overview of reaction force formulas and moment diagrams for frames due to different loading scenarios.
-
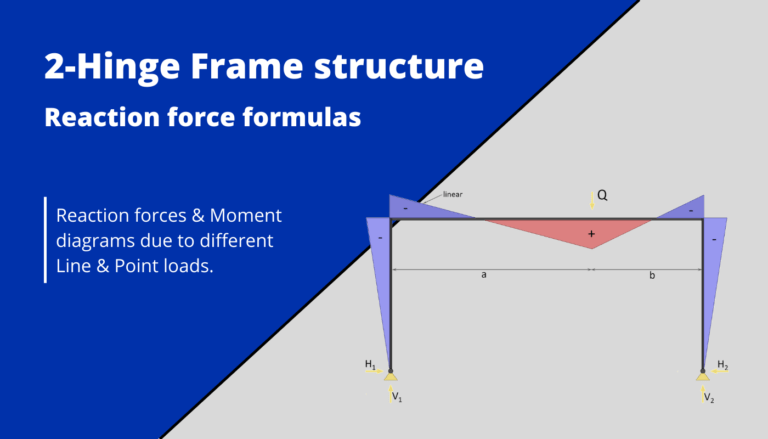
Two-hinge frame structure: Reaction force formulas – Different loads
2-hinge frame: Quick overview of reaction force formulas and moment diagrams for frames due to different loading scenarios.
-
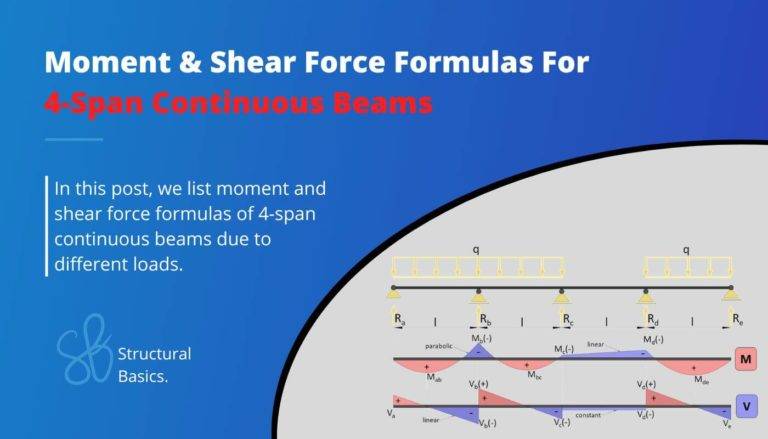
4 Span Continuous Beam – Moment And Shear Force Formulas Due To Different Loads
4 span continuous beam: Quick overview of the bending moment, shear and reaction force formulas for beams due to different loading scenarios.
-
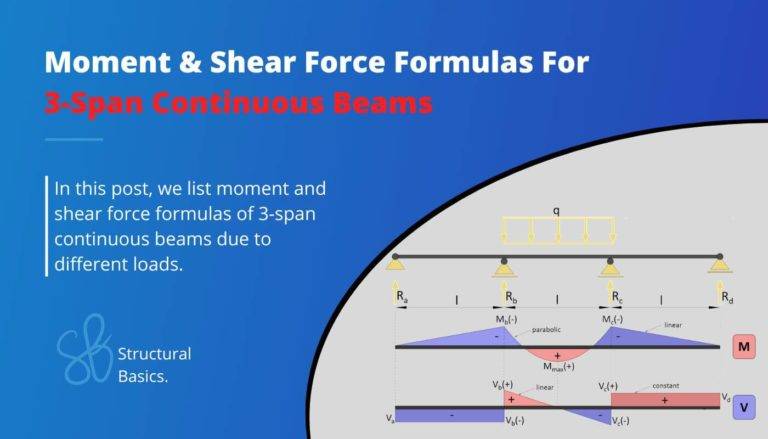
3 Span Continuous Beam – Moment And Shear Force Formulas Due To Different Loads
3 span continuous beam: Quick overview of the bending moment, shear and reaction force formulas for beams due to different loading scenarios.
-
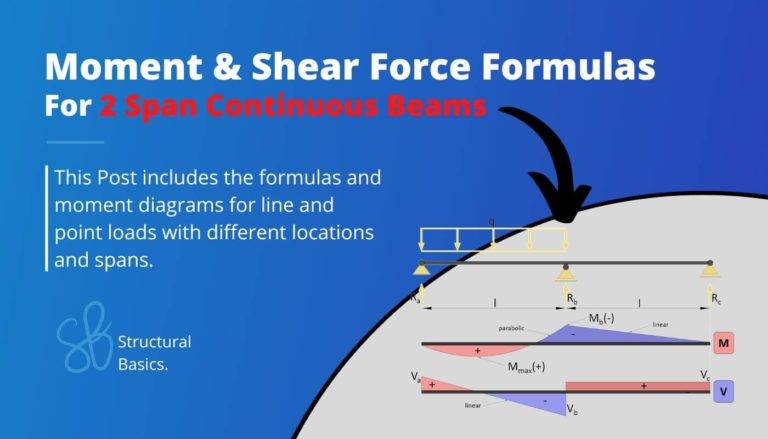
2 Span Continuous Beam – Moment and shear force formulas due to different loads
2 span continuous beam: Quick overview of the bending moment, shear and reaction force formulas for beams due to different loading scenarios.
-
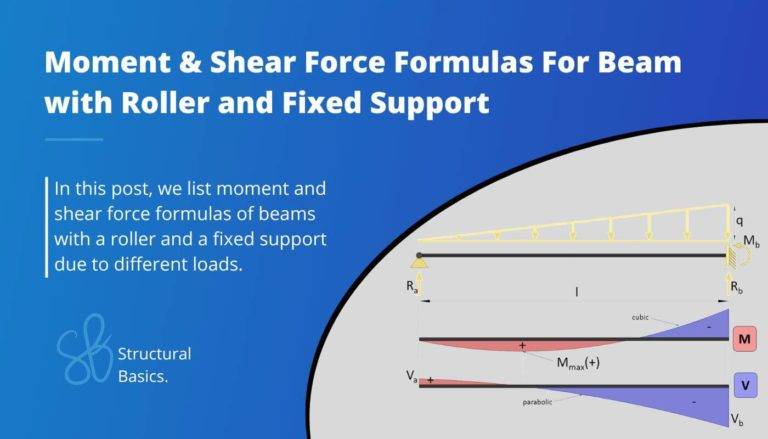
Beam With Fixed And Roller Support -Moment And Shear Force Formulas Due To Different Loads
Beam with fixed and roller support: Quick overview of the bending moment and shear force formulas due to different loading scenarios.
-
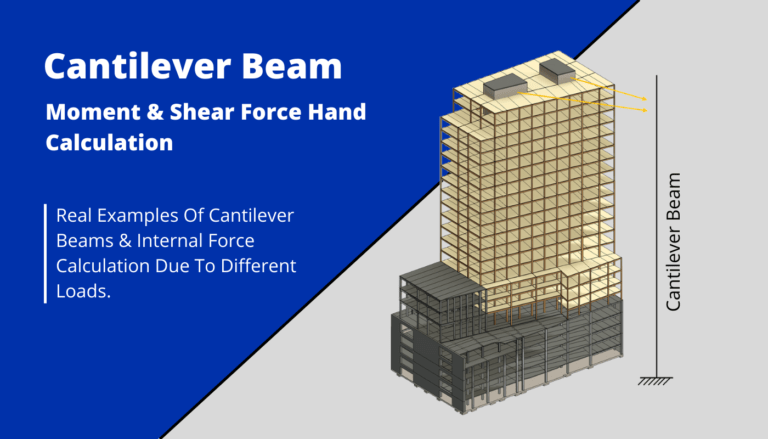
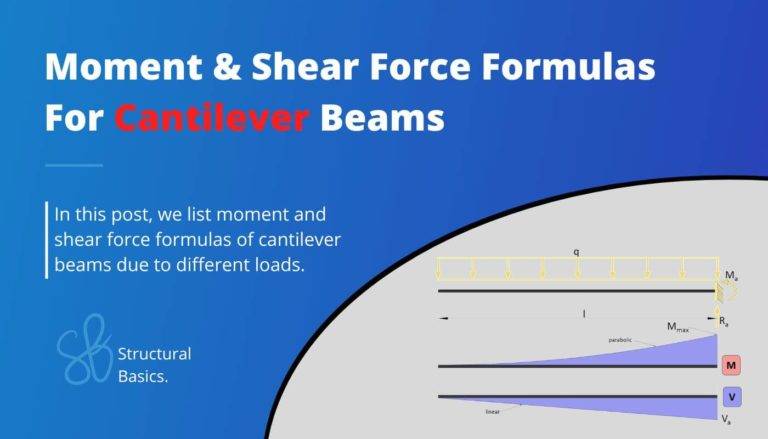
Cantilever Beam: Moment and Shear Force Formulas Due To Different Loads
Cantilever beam: Quick overview of the bending moment and shear force formulas for beams due to different loading scenarios.
-
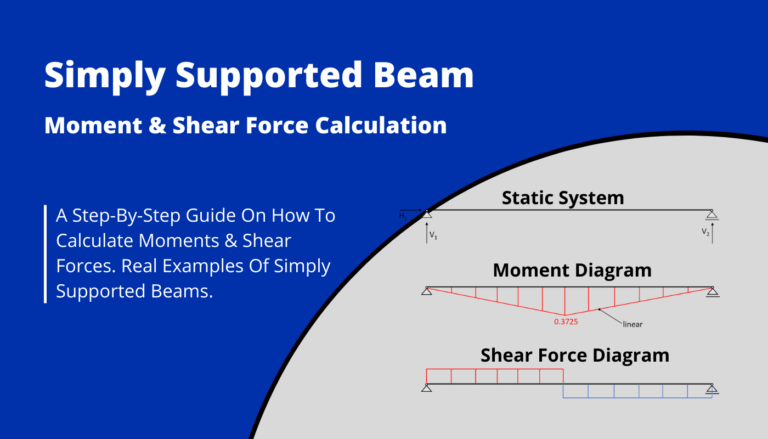
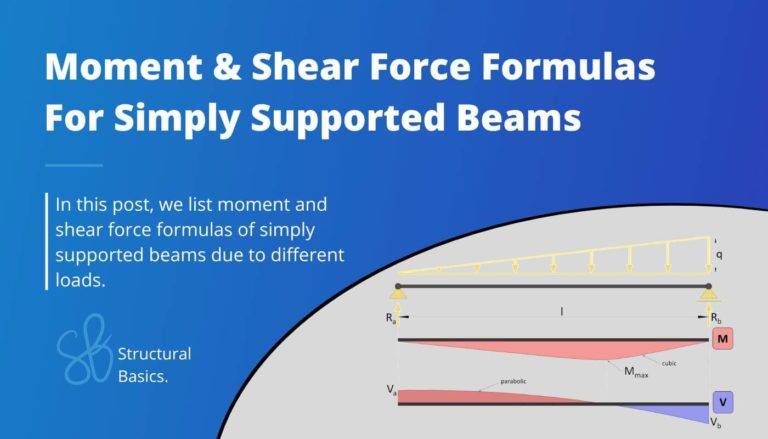
Simply Supported Beam – Moment & Shear Force Formulas Due To Different Loads
Quick overview of the bending moment and shear force formulas for simply supported beams due to different loading scenarios.

FEATURED ARTICLE
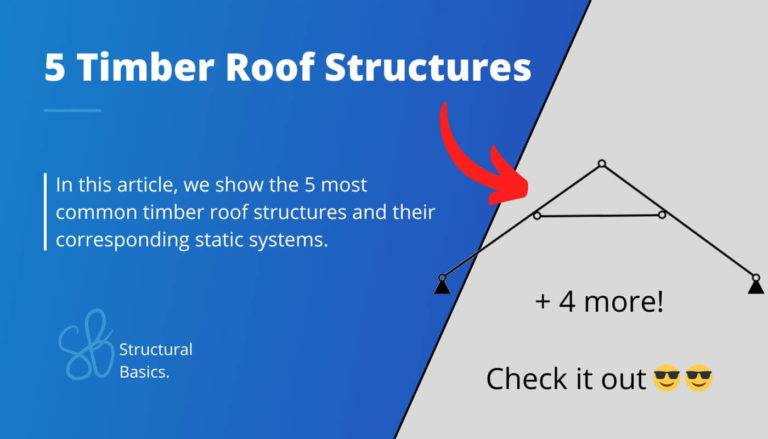
Read My Article about Static Systems of common Timber roofs
We are surrounded by Timber roofs, however they are mostly not visible. My guide will show you 5 different roof types and their static systems.
-
5 Timber Roof Structures Explained! [2026]
Check out this article to learn about the 5 most common timber roof structures and their static systems.
STRUCTURAL GEOMETRY CHEAT SHEETS
Here Are Some Helpful Cheat Sheets
We Are Using Geometry All The Time in Structural Engineering.